We’ve had heaps of fun with our Preschool Letter of the Week, but there comes a time when a break is needed! I made a couple of Farm printables a few weeks ago and thought now would be a great time to use them! So, out came my laminator (not that it had been in storage as I’d used it just the previous day), my A3 guillotine and my mummy scissors. Then I got busy printing, laminating and cutting 🙂
Once all the prep work was done, Filip and I got busy setting up our school room (which is really half of our garage done into a room). I set up a cute Farm scene on our white board using some printables I’ve had for years. They could be from Teacher Created Resources, but not 100% sure. Included is a a coop/sty scene, field scene and inside the barn. It gave us lots of opportunities to talk about farm life and who lives where.

We also set up this display using my daughter’s Little People.

A day before I announced my plans for the next 2 weeks, Filip and I headed to our local library and borrowed some farm themed books for us to read over the next two weeks.

We also made a sensory bin. The kid inside me Filip LOVES sensory play, and he helped to make his little bin.

We used some green tissue paper for the grass, corn kernels, sand, some blue gems and play dough to separate everything. It didn’t stay neat for long. So glad I snapped a few photos before he started playing!

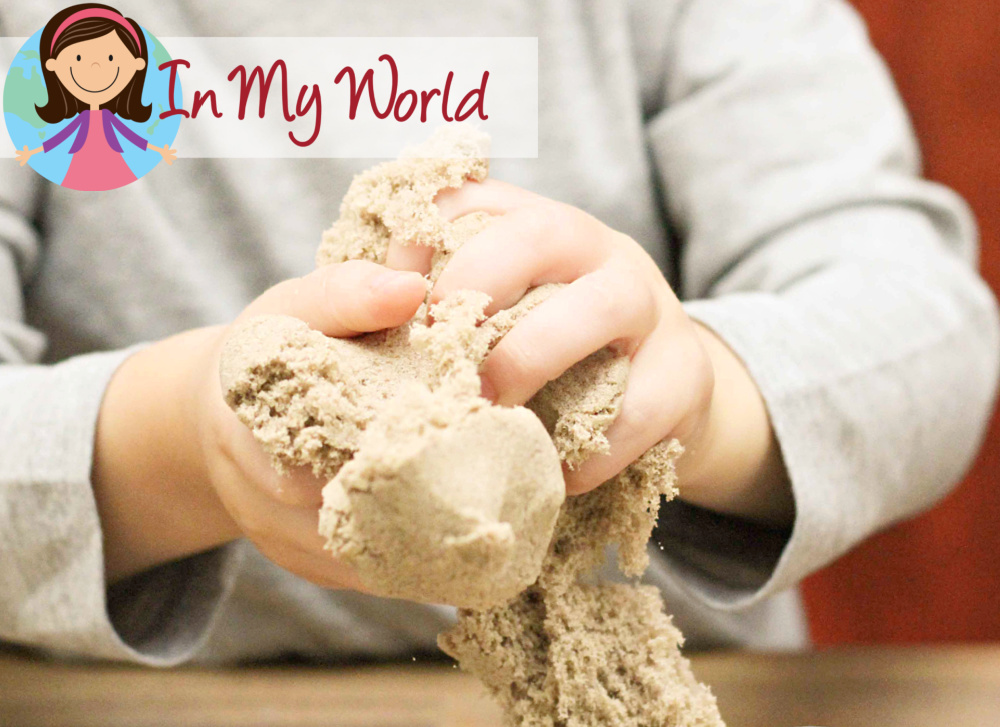
And here is my newest favorite sensory play item: kinetic sand! It’s a no-mess sand and polymer mixture that feels so great to play with. You can even make sculptures and they don’t fall apart – straight away… And the best thing: it’s totally kid-safe. I did not take a picture of the box, but if it’s something you might be interested in, it’s called Sand in Motion. If you’re from Australia and would like to buy a packet for your kiddos, it’s available at Toy Kingdom.
I’ve seen so many pinterest ideas where learning materials are set up on tray. I believe this is Montessori inspired. I decided to give it a go. I didn’t have Montessori-like trays and had to improvise; we used paper trays and a baking tray for all our magnetic play. Eh! Good enough for us 🙂


Let’s get started with Day 1, Tray 1: Beginning Sounds

We used pegs because they are SO great for strengthening those little finger muscles!

Tray 2: Build-a-Word.

I have come to appreciate the person who created adhesive magnets. I use them a lot. On pretty much anything and everything. Here I used them on the back of the letter tiles for the build-a-word activity to keep them in place.

This seemed to be Filip’s favorite activity. He enjoyed searching for the letters and placing them in the correct place. We started off using only the 3-letter word cards and he even attempted to blend the letter sounds into words.

Tray 3: Counting Cards
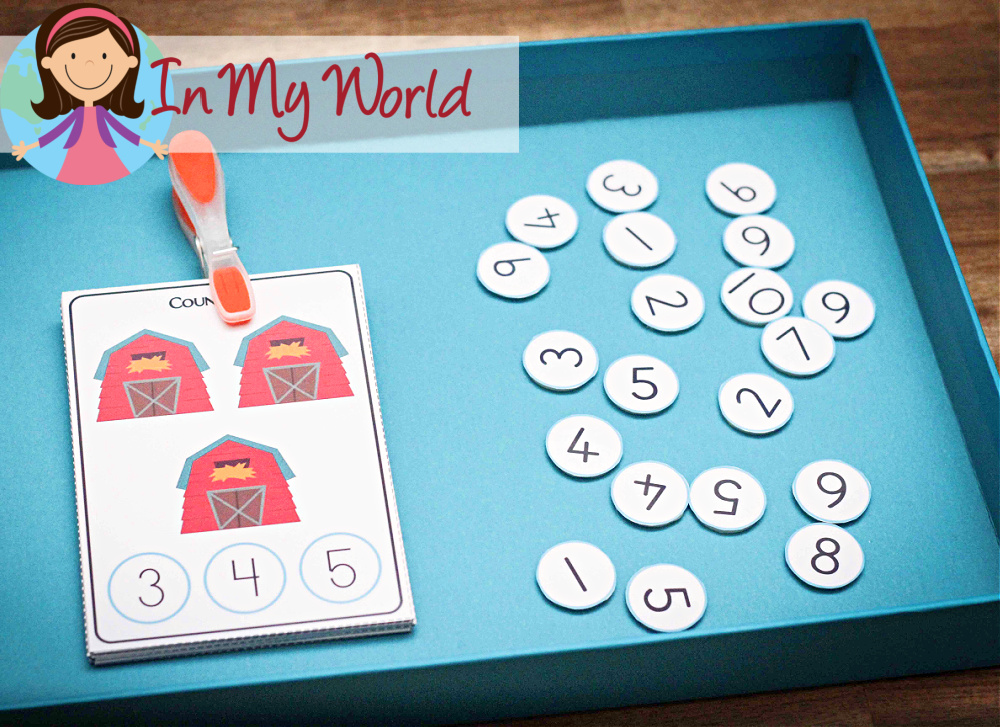
I glued the number tiles onto small plastic disks to make it easier for Filip to pick them up.


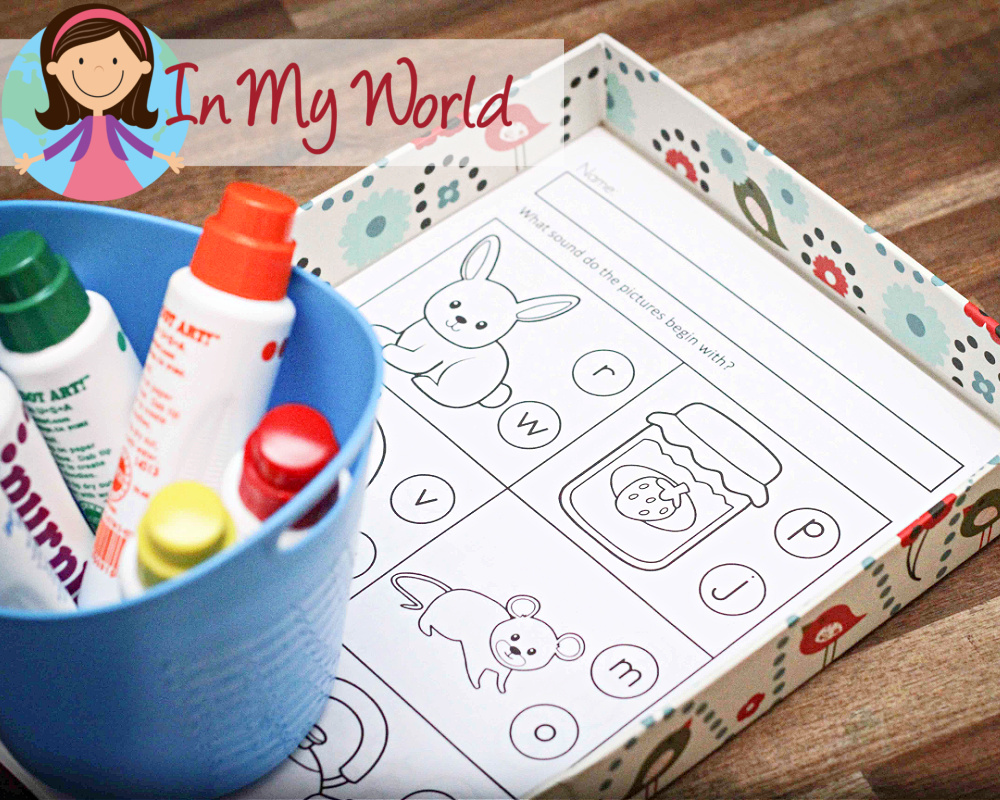
We finished Day 1 with our last tray, which was a worksheet tray. These worksheets were intended as a follow-up up to the activities we had just done.
Here is beginning sounds dot-it worksheet.
A number dot-it worksheet.

A cut and paste build-a-word booklet. Again, we only used the 3-letter words.

Day 2 started with this tray: Uppercase to lowercase match.

We used our coloured pegs.

Tray 2: Magnetic number puzzles.

Here he is, putting the numbers in order to reveal the picture.

“What is the girl doing?” he wanted to know. So we talked about where milk comes from and then read a book that explained it further.
Tray 3: sorting/categorizing.
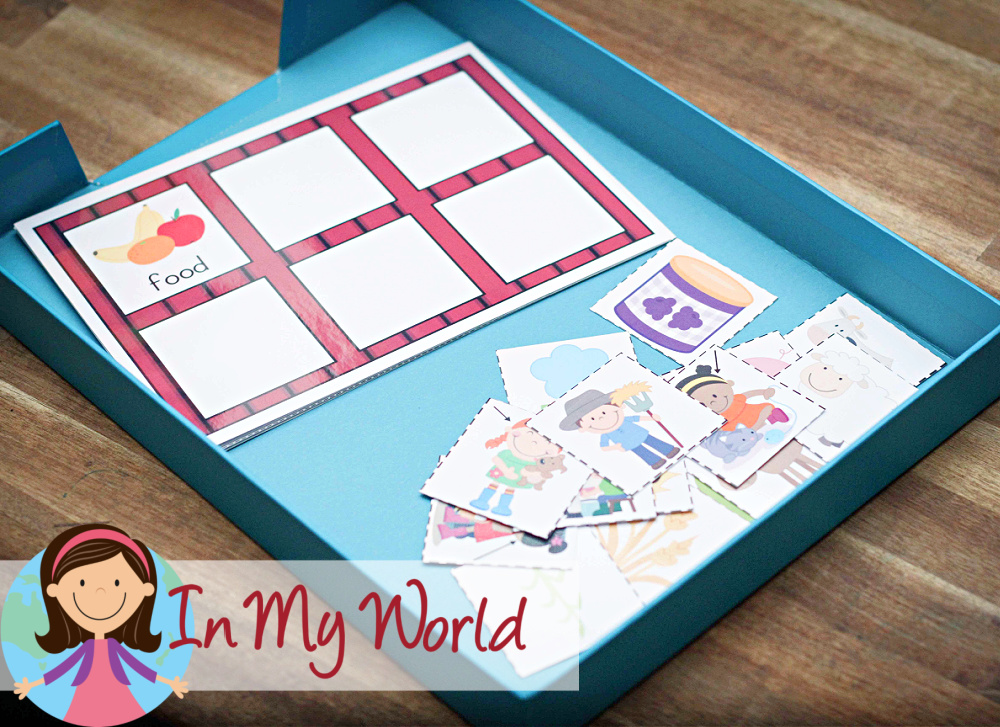
Here he is, trying to figure out where the cards belong.


Tray 4 was our worksheet tray, again intended as a follow up to the activities just completed.
Uppercase and lowercase match – he flew through this and completed them in no time.

Cut and paste number puzzles:

He remembered we had done a puzzle that was exactly the same, so we had to re-do it just to be sure 🙂

And last, a cut and paste sorting activity:

I think I’ll stop here because this has turned out to be one long post!
If you’ve made it all the way to this end photo, I’d like to say thanks for sticking around 🙂 I’ll be back next week to show you what else we did.
Until then, how about a Farm FREEBIE?

The activities in this post are included in the following resources. Click on each image to go to my TpT store where you can download some free samples from each packet or purchase it.


Happy Teaching 🙂

Love your Farm week and lots of ideas for me to borrow when we are doing Letter F. We are on Letter A this week and have a long way to go. So happy you are FINALLY on Facebook! Thank you so much for the freebie!
I’m glad that you found some things to use when you get up to Letter F!! Yeah, getting Facebook up and going felt like forever!! 🙂
This is amazing, I love how everything is set out on trays, what a great idea for quite different activities, and he only focuses on one activity at a time, I might use that on, if you don’t mind 🙂 I love this set and can’t wait to see what you do next week!
Thanks for stopping by again, Karin 🙂 The tray worked really well for us, but it means that everything must be prepared in advance and ready to go… sometimes that can be a challenge for me!
Your pegs are so colorful. Where did you purchase these? I think I need to upgrade my wooden pegs :). I purchased the Literacy Farm Unit. Excellent unit.
Thank you for purchasing, Sue! I got mine from the laundry section at my local supermarket. If you’re from Australia, I think it’s either Coles or Woolworths. Hope that helps 🙂
I just adore Kinetic Sand. My favorite part of Kinetic Sand is the fact that you do not have to clean it up. It virtually cleans itself. It Looks like Farm Week was a great hit at your school.